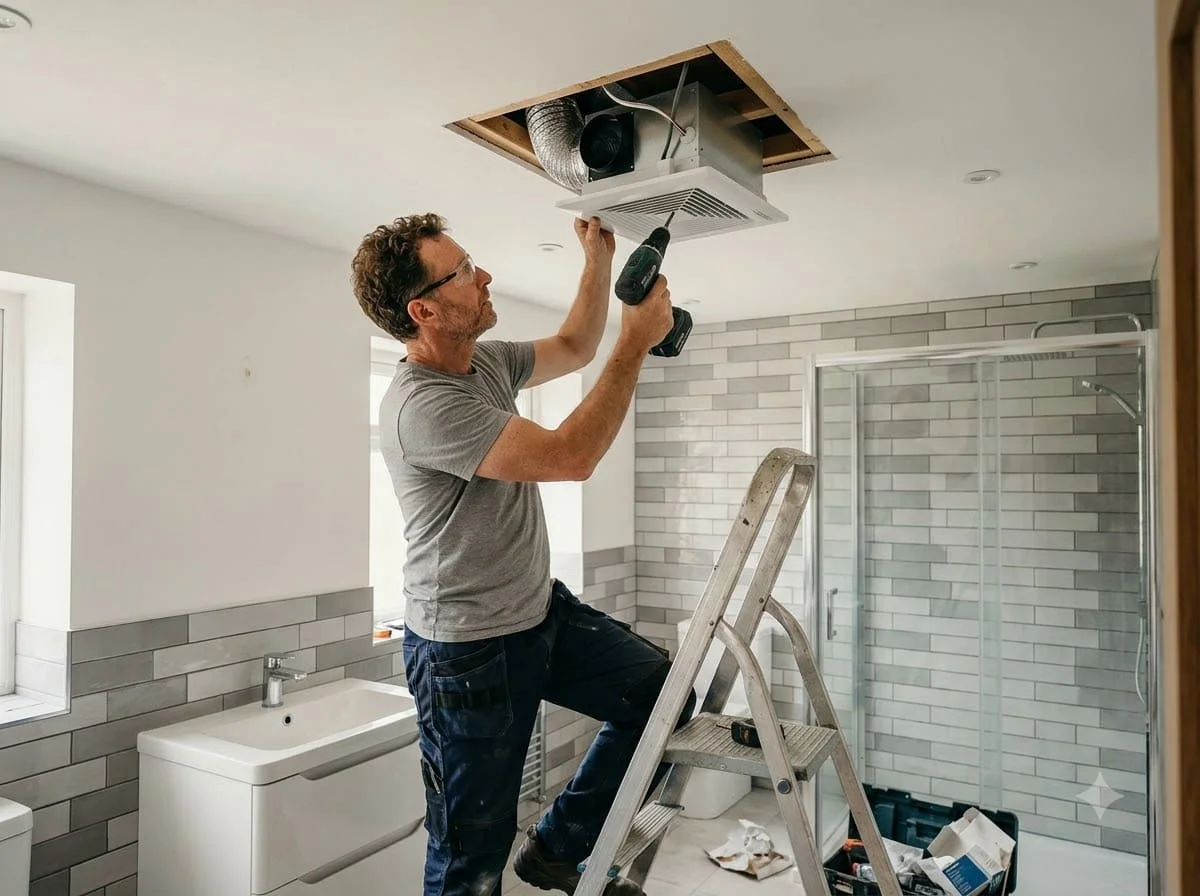
Bathroom exhaust fan installation in Cocoa, FL costs $200–$1,200, and on a Cocoa Village home built before 1955 the honest expectation is the higher end of that range, because the bathroom in question most likely has never had a fan at all. Where a 2005 build off Clearlake Road usually just needs a fan swap, a pre-war Village bathroom is starting from an operable window and nothing else.
Handyman Palm Bay FL installs bathroom exhaust fans throughout Cocoa — the historic Village blocks, the neighborhoods along Brevard Avenue and Delannoy, the mid-century streets west toward Clearlake Road, and the rental properties scattered through all of them. This is work we perform directly, including the duct routing and the fan itself. A licensed roofer is brought in specifically for the new roof penetration a first-time install usually requires, and where the property carries a historic designation, we plan termination placement around what that review actually asks for.
Bathroom Exhaust Fan Services We Provide in Cocoa
- First-time fan installation — the majority of jobs on pre-1955 Village homes with no existing ventilation
- Careful plaster ceiling cutting — scored, low-vibration technique that avoids cracking beyond the opening
- Historic-district placement planning — routing a visible roof or wall termination to a rear or side elevation where review applies
- Fan replacement on existing ductwork — for newer Cocoa homes toward Clearlake Road that already have a working vent path
- Rental property compliance installations — closing off a mold and habitability liability with correctly vented ventilation
- Surface-mounted and through-wall solutions — for rooms with no usable attic access above them
- Fan/light/heater combo units — for bathroom renovations in both historic and newer Cocoa homes
- New dedicated circuit installation — where a home's older wiring can't support a heater-equipped unit
A First-Time Install Is the Default Here
A first-time install is the default expectation on a Cocoa Village bathroom fan call, which flips the usual assumption most homeowners bring to this job. These houses were built when a window was the entire ventilation plan, and in the decades since, plenty of them added central air conditioning, updated fixtures, and even remodeled bathrooms without ever adding mechanical exhaust — because nothing about the room's appearance signals that it's missing.
That absence has real consequences in a climate this humid.
A bathroom with no fan relies entirely on an open window and ambient air movement to clear moisture, which works poorly on a still, humid Florida afternoon and not at all in the middle of a Village home's air-conditioned interior with the window shut. Adding a properly sized and vented fan to one of these bathrooms is often the single change that resolves a chronic mildew smell or peeling paint that's been treated as an unavoidable feature of an old house rather than a fixable ventilation gap.
Historic District Review for a Visible Roof Vent
Historic district review comes into play on a Cocoa bathroom fan installation exactly where it comes into play on other exterior work in this city: when the termination point is visible from the street. Interior work — the fan itself, the housing, and the duct routed through the attic — is unaffected regardless of the property's designation. A roof cap or wall vent on a street-facing elevation is the part worth planning around.
Routing to a rear or side roof slope solves this in most cases without any real compromise.
A duct run doesn't need to take the shortest possible path if a slightly longer one reaches an inconspicuous termination point instead, and on a property where street-facing changes draw review, that planning avoids a delay that a less visible location wouldn't have triggered. Confirming with the City of Cocoa before cutting anything on a prominent elevation is the same practical approach that applies to any other visible exterior change on a historic property.
Cutting Into a Plaster Ceiling the Right Way
Cutting into a plaster ceiling the right way is what separates a clean fan installation from one that leaves a crack running a foot beyond the opening three days later. Plaster is keyed through wood lath — the original wet material was pushed through the gaps between lath strips and mushroomed behind them, and those keys are the only thing holding the ceiling together at that point.
A fast cut with an aggressive blade doesn't respect that structure.
The vibration travels through the lath well past the cut line and breaks keys the installer never touched directly, which is why plaster damage so often shows up as a crack somewhere unexpected rather than exactly where the tool was used. The reliable method is slower: score the surface first, cut with minimal vibration, and support the lath on both sides of the opening before the fan housing goes in. It takes longer than cutting into drywall, and it's the only way to avoid a second repair on a ceiling that's outlasted several owners already.
What the Job Actually Involves
A bathroom exhaust fan installation in Cocoa starts by establishing what's actually there, which on a Village home is usually nothing. First, we confirm whether any duct or ventilation infrastructure exists at all, and check attic access above the bathroom, since some additions to these homes have none. Second, for a historic-district property, we plan the termination location before cutting anything, routing to a rear or side elevation where the street-facing side would otherwise draw review.
From there, the physical work follows a careful sequence.
Third, the ceiling or wall opening gets cut using the low-vibration plaster technique where the home has a plaster ceiling, or a standard opening on newer construction. Fourth, the duct gets routed through the attic to the planned termination, and a licensed roofer sets the cap and flashing if a new roof penetration is required. Finally, the fan gets wired, tested for real airflow at the grille, and the opening gets finished to match the surrounding ceiling.
Bathroom Exhaust Fan Installation Pricing in Cocoa, FL
Fan replacement, existing duct reused: $200–$360.
New fan with new duct run to an existing exterior vent point: $375–$650.
First-time install, new roof or wall penetration: $700–$1,200.
Plaster ceiling cutting and low-vibration technique: included in first-time install pricing.
Fan/light/heater combo unit, installed: $475–$800.
New dedicated circuit, where existing wiring can't support the unit: add $250–$450.
Village homes generally land at the higher end because nothing gets reused — the duct route, the termination, and often the ceiling opening are all built from scratch. All pricing is confirmed in writing before any work begins, and the estimate is free. Call (877) 916-5930 or request a quote online to get scheduled.
We install bathroom exhaust fans throughout Brevard County — including long duct-run sizing in Rockledge and attic-vent corrections in Palm Bay.