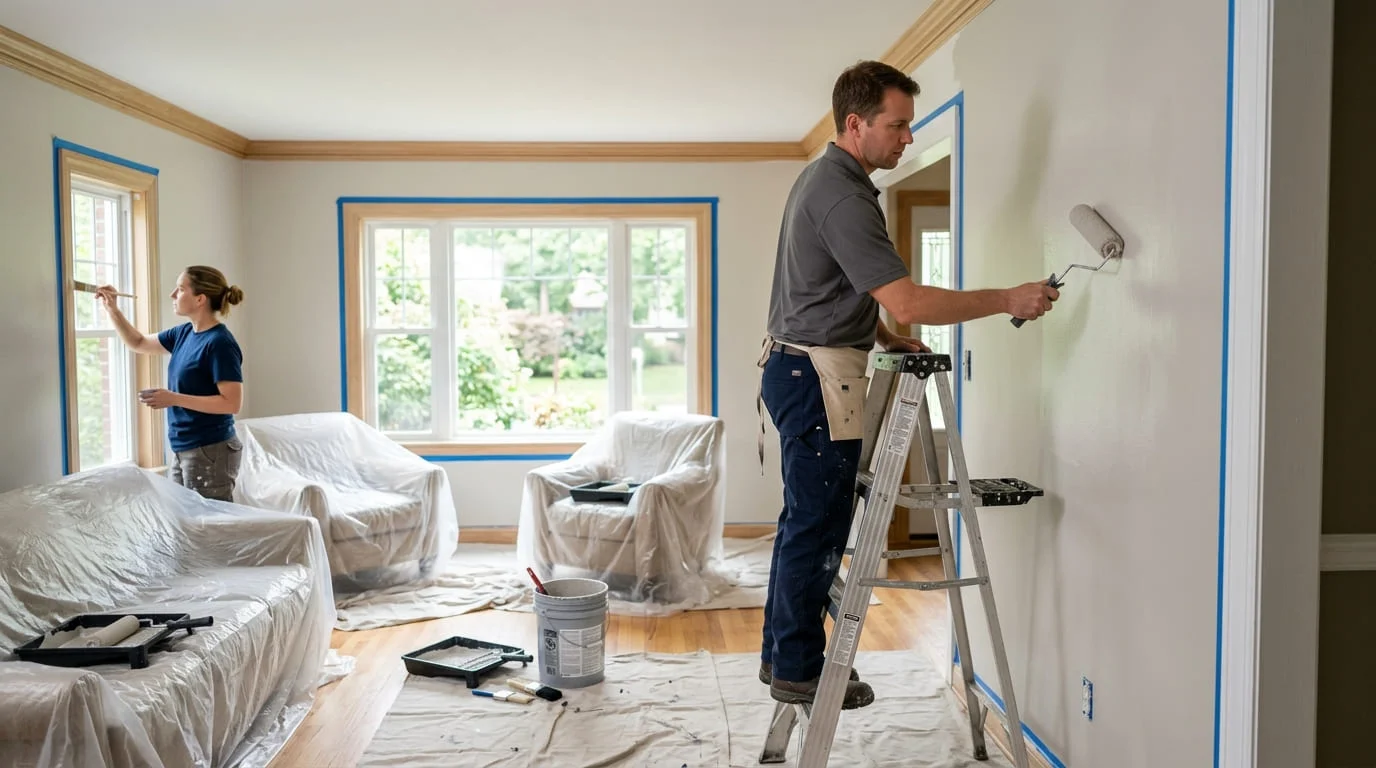
The difference between a paint job that looks professional and one that looks like a DIY attempt almost always comes down to preparation — not the paint itself. The most expensive paint applied badly over unprepared wood will peel, chip, and look terrible within a year. The right preparation, the right primer, and a few key technique habits produce results that hold up for years and look like they were done by someone who knew what they were doing. Here's how to do it correctly.
Preparation: The Work That Determines Everything
Clean the surface before anything else. Woodwork in kitchens accumulates grease. Trim near doors and windows collects handprints and grime. Paint doesn't bond to dirty surfaces — the dirt creates a barrier between the old surface and the new coating, and the paint will eventually fail right along that boundary. Wipe down all surfaces with a TSP (trisodium phosphate) solution or a dedicated degreaser cleaner. Let it dry completely before moving on.
Fill imperfections: Nail holes, cracks, gaps at mitered corners, and areas where caulk has pulled away all need to be addressed before paint. Use a paintable wood filler or lightweight spackle for nail holes and surface gouges. Use paintable caulk for gaps between trim and the wall, between sections of trim, and anywhere two surfaces meet at a corner. Let everything cure fully before sanding — rushing this step produces visible problems in the finished work.
Sand properly: Scuff sand existing painted surfaces with 120–150 grit sandpaper to give the new coat something to bond to. On glossy surfaces, skipping this step is the number-one cause of paint peeling prematurely. For bare wood, start with 80 grit to remove mill marks and surface imperfections, then progress to 120 grit for a smooth surface ready for primer. Always sand with the grain, never across it. Wipe off all sanding dust with a tack cloth before priming.
Primer: Not Optional
Bare wood needs primer. Period. Wood is porous and absorbs paint unevenly — without primer, the topcoat will look patchy and uneven regardless of how many coats you apply. A quality oil-based or shellac-based primer seals the wood, blocks tannins from bleeding through (especially important on pine, cedar, and knot-heavy wood), and gives the topcoat a consistent surface to adhere to.
For repainting over existing paint that's in good condition, a bonding primer is needed only where you've sanded down to bare wood or where the existing paint has a particularly glossy finish. Spot-prime those areas rather than priming the entire surface if the rest is sound.
Choosing the Right Paint for Woodwork
Trim, doors, and cabinetry take more abuse than walls — they get touched, bumped, cleaned, and scuffed constantly. They need a more durable coating than standard interior wall paint.
Sheen: Semi-gloss is the standard for trim and doors in most Florida homes. It's durable, wipes clean easily, and holds up to the moisture and humidity that's part of everyday life in Brevard County. Satin is acceptable in lower-traffic areas. High-gloss is the most durable option but amplifies every surface imperfection — only use it on surfaces you've prepared very carefully.
Water-based alkyd hybrids: Products like Benjamin Moore Advance and Sherwin-Williams Emerald Urethane trim paint are water-based but dry to a hard, alkyd-like finish. They level beautifully (brush marks self-level as they dry), clean up with water, and hold up as well as oil-based paint in high-traffic areas. These are the professional's choice for trim and doors in Florida homes.
Staining Woodwork: A Different Process
Staining bare wood requires surface prep as careful as painting — cleaner, since any sanding scratches will show through a transparent or semi-transparent stain. Sand progressively to at least 150 grit, always with the grain. Remove all sanding dust completely.
Apply stain in manageable sections, working it into the grain with a brush or rag and wiping off the excess before it dries. Leaving excess stain on the surface creates a blotchy, sticky mess. For even color on porous woods like pine or alder, a pre-stain wood conditioner applied before the stain helps prevent blotchiness by sealing the most porous areas.
After staining, a topcoat of polyurethane, lacquer, or conversion varnish protects the color and the wood. Water-based polyurethane is easier to work with and doesn't yellow over time — a real consideration on light-stained wood in Florida's sun-drenched interiors.
Application Technique for a Clean Result
Use a quality brush — a 2" or 2.5" angled sash brush for trim and detail work. Cheap brushes leave visible bristle marks and shed bristles into wet paint. Load the brush adequately but not excessively, and apply paint in long, smooth strokes with the grain. On doors, paint the panels first, then the rails, then the stiles — always finishing with long strokes in the direction of the wood grain.
Between coats, a light sand with 220 grit followed by tack cloth creates a dramatically smoother finish on the topcoat. This "cutting between coats" step is what separates truly professional-looking trim work from acceptable-looking trim work.
For professional interior painting in Palm Bay, call (877) 916-5930 or visit our painting service page. We handle prep, prime, and finish correctly — so the results last.